The tacos themselves are pretty simple: sear cubed halibut, seasoned with salt & pepper; thinly slice some green cabbage; load into tortillas with salsa, guacamole, and a quick crema (or yoghurt, or sour cream thinned with a bit of water)-lime-cilantro sauce. However, Nicole from And Baby Cakes Three made a passing comment about flour tortillas the other day, and even though I envy her life in Rome, I remember cooking without certain key ingredients available in stores, so I decided to focus on the unsung hero of the taco.

Tortillas are often an afterthought, but just as a Reuben requires good rye bread, and a gyro isn't all it could be with stale and bland pita, a good tortilla becomes more than just a filling-holder.
Like many great breads, tortillas have few ingredients: flour, salt, shortening, and water. If you have a good source of lard, do use it, but at present I use Spectrum Organics non-hydrogenated shortening. Because of the paucity of ingredients, process is key.
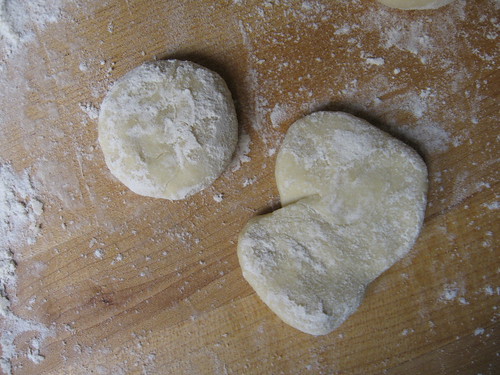
After kneading the dough, it is broken up into flat disks of dough before resting. I have the best luck by pressing the hunk of dough between my palms while making five or six little circles, but these disks may end up round or amoebic.

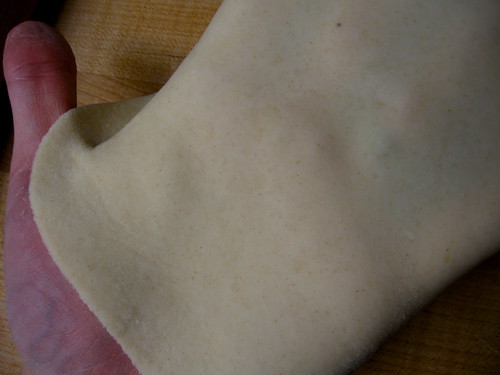
When rolling out, I start with a tapered rolling pin like this—it is often said that tapered pins are harder to work with than the standard cylindrical pin, but I struggled for years with various incarnations of pins, marble, wood, and plastic, before discovering tapered pins. I find them much more intuitive; direct contact with the pin makes it easier to feel the dough, and the tapered edges allow minute adjustments. Tortilla dough is relatively soft and elastic, so the key to rolling it is regular turning and flipping. If you look carefully, you can see the outline of my fingers and a bit of my ring through the tortilla.

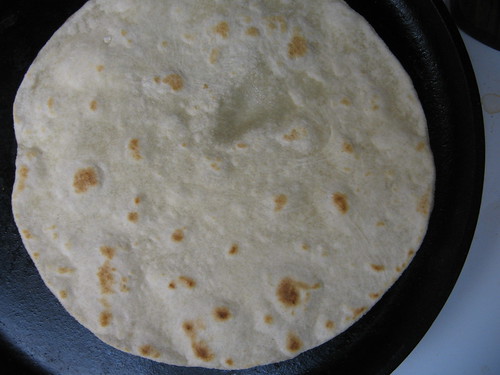
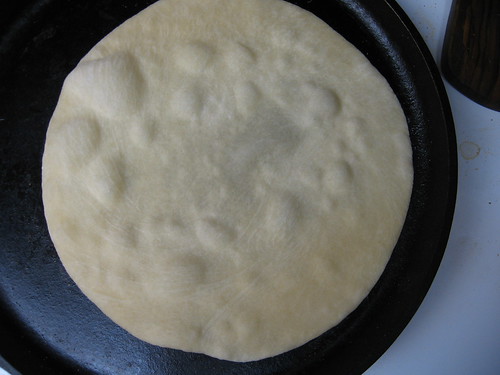
The cooking process is easy but a bit time consuming. If you have plenty of range space you can heat up multiple pans, but I usually cook them one at a time, preparing the rest of my meal as they cook, checking them regularly to pop bubbles, flip, and roll dough as needed. Once cooked, tortillas will last for several days in the fridge—wrap them in a towel and place them in a plastic bag; reheat briefly on the stove or even in the microwave, just until warm and pliable.

Flour Tortillas
This recipe makes "standard" 6-8 inch tortillas; if you want to make the cute little mini-tortillas popular at taco stands, either halve the recipe or cut in twice as many pieces. Flour tortillas will work with any filling, but I particularly like fish and carne asada.
3 cups all-purpose flour, plus about 1 cup bench flour for kneading/rolling
1 ½ teaspoons salt
generous ½ cup vegetable shortening (I like Spectrum Organics) or lard
1 cup plus 2 tablespoons warm water
Combine 3 cups flour and salt in a large bowl, then add shortening and just over a cup of water—reserve remaining water. Stir until the mixture begins come together into a soft and flexible ball; add the additional water if the dough is very stiff. Sprinkle your counter or a large board with some of the bench flour, then turn the dough out and knead until smooth and elastic, adding flour as needed to keep it from sticking, 5-10 minutes (note: you will probably use about half of the flour during this process). Cut the flour into 16 equal pieces, roll them into flattened balls, and dip each side in flour. Cover the dough pieces with a clean dish towel; let rest 20 minutes.
Heat a cast iron skillet, tortilla pan, or griddle over medium-high heat (note: for most stoves, cast iron will operate best if you treat "medium" or "high," so this would actually be medium-low heat).
Dip each ball of dough in flour again and roll out into a very thin tortilla—the dough should be barely translucent, about 1-2 mm thick. Place on the hot tortilla pan and cook until opaque and bubbling all over, 1-2 minutes. Gently break the bubbles with a wooden spoon, tongs, or your finger to let the underside cook evenly. Flip with tongs or your fingers - the tortilla should be golden brown in spots. Let the second side cook about 1 minute more, until golden-brown spots develop.
Remove the tortilla from heat and wrap in another clean towel. Repeat, taking care not to stack the uncooked tortillas after rolling them out.
Makes 16 tortillas about 6-8 inches thick

These look amazing. It makes me sad that I never made these before my son was born because now I really have to wait until I have more than 20 minutes at a time in the kitchen.
ReplyDeleteThey make something called piadina in Italy which is really a tortilla so at least I have those, because wrapping things up is such a nice way of eating.
Thanks for mentioning my blog by the way.
And I forgot to tell you I grew up in Amherst :)
Ciao from Roma!
When we lived in Texas, I believe we ate homemade tortillas at least three times a week. Reading your post had me wondering why I stopped. And I completely agree about tapered pins. They're the best!!
ReplyDeleteyou are my hero! I love homemade tortillas but have never made them myself...must try soon.
ReplyDelete